Total Pageviews

Sunday, September 30, 2012

Polishing Wars Part Two

Jestco method was started first

Not many days left to polish, but my sister came up and helped play with our polishing technique.  We decided to do what Frank suggested and do a side by side comparison of the Jestco method versus the Perfect Polish method.  It was a dreary windy day, hovering around 55 degrees and we didn't think we would be too successful with either method!  Note,  mask protection was not used since it was windy and we literally worked on it for 15 minutes.


Then we used the Perfect Polish Method

It seems like the Perfect Polish method (on right) went faster but left more oxidation behind

In the end, the results were similar...the jestco method left faint vertical scratches whereas the perfect polish method left faint rotary scratches.


The Verdict-  Still out there but we are definitely going to play with the Jestco method more.  It cut through oxidation faster and frankly is WAY cheaper than the nuvite polish.  We have another whole side of a 24 foot trailer to play with so the scientific study is not over!


Sunday, September 23, 2012

Grey tank venting


So here is the story. We are totally happy that we had Colin Hyde put in two grey tanks  from Vintage Trailer Supply.  Now the bad news.... one of the tanks vented out of the floor into our alley separating the double bed and the vanities.  You see most trailers have two twin beds on either side of the the trailer which would have totally hidden the vent but in our  double bed case it sticks right out in the visible portion of our floor.  Yuck.   We thought about trying to pull the tiny middle bureau out but it would actually land right on top of the vent making the bottom section unuseable.  So we vented it as low as possible and shunted it under the bureau.   We are going to have to somehow cover it with something sturdy so that we do not inadvertantly kick it in the middle of the night on the way to the bathroom but so be it.  Any ideas would be greatly appreciated!  Sometimes you can't always get what you want (insert Rolling Stones music here!)  We are so pleased with our grey tanks that we don't really mind.


Here is the vent sticking out looking torwards the bathroom.  See how the middle bureau was inset between the two closets.   However the vent is directly in line with the cabinetry making it impossible to move the bureau forward.

We vented it with a small pipe underneath the middle bureau

Floor's eye view of the venting

Unfortunately the vent is flush with the other flanking cabinets so we can not pull the middle bureau forward

View of venting inside of the bureau around the wheel well.

Wednesday, September 5, 2012

Nature's Head Composting Toilet


Installation of the Nature's Head Composting toilet was extremely easy.  We had already prewired the area with 12 volts to power the internal muffin fan and we drilled a hole through the bathroom wall into our utility closet for the vent tubing.  Two "L" shaped brackets attached the toilet to the floor and we were "good to go"  so to speak!!  The toilet fit nicely into the area that are black tank/original toilet was. So far we have been extremely happy with it.  Absolutely no smells are noted.   

The cabinet adjacent to the toile can still be utilized.  The panel front is on a hinge so that you can remove the panel completely. This was original to the trailer.


Simple brackets attach it to the plywood floor

Note the toilet is vented behind the last Fantastic Fan.  We had picked up this vent and although it is not original it at least tries to be period correct.  It is made of aluminum and we used screen over the vent holes to minimize hornet nesting


Forgot to show everyone the inside of the closet where the venting went.  It merged with the gray tank venting and went out through the original black tank vent opening.  The portion outside of the closet area should be covered by the bathroom wooden partition that holds the privacy curtain.


Saturday, August 25, 2012

The DREADED Polishing

We are trying two different systems to polish the trailer.  The traditional compound polisher way using Nuvite (F7) and the Jestco way with a cotton batting wheel and grey and rouge bars.

Traditional nuvite method... 3 hours worth

Traditional method.... note the deep scratches where the previous owner had built a deck from. Yuck

Traditional method with Nuvite from front window to edge of endcap took 10 hours

Jestco method on rear endcap... approximately 2 hours of work.  

Jestco method


Initial polishing went MUCH quicker with Jestco grey bar but the red/rouge bar does not seem to  shine the surface up like the F7 nuvite.  We are toying with the idea of using the grey bar initially and then switching to the Nuvite polishing method for next step.  The Jestco way seems more stressful on your wrists compared to the Nuvite way..  We will keep everyone up to date on our progress.  We hate polishing!


More photos below........   After using both systems we are still leaning towards the Perfect Polish way... definitely slower but ultimately turns out nicer in our hands.  We really wanted to like the other way but at least in cooler Vermont it did not work as well for us.


New curtains for the trailer

Above the kitchen sink...I am showing them closed for the full effect!


Above the double bed

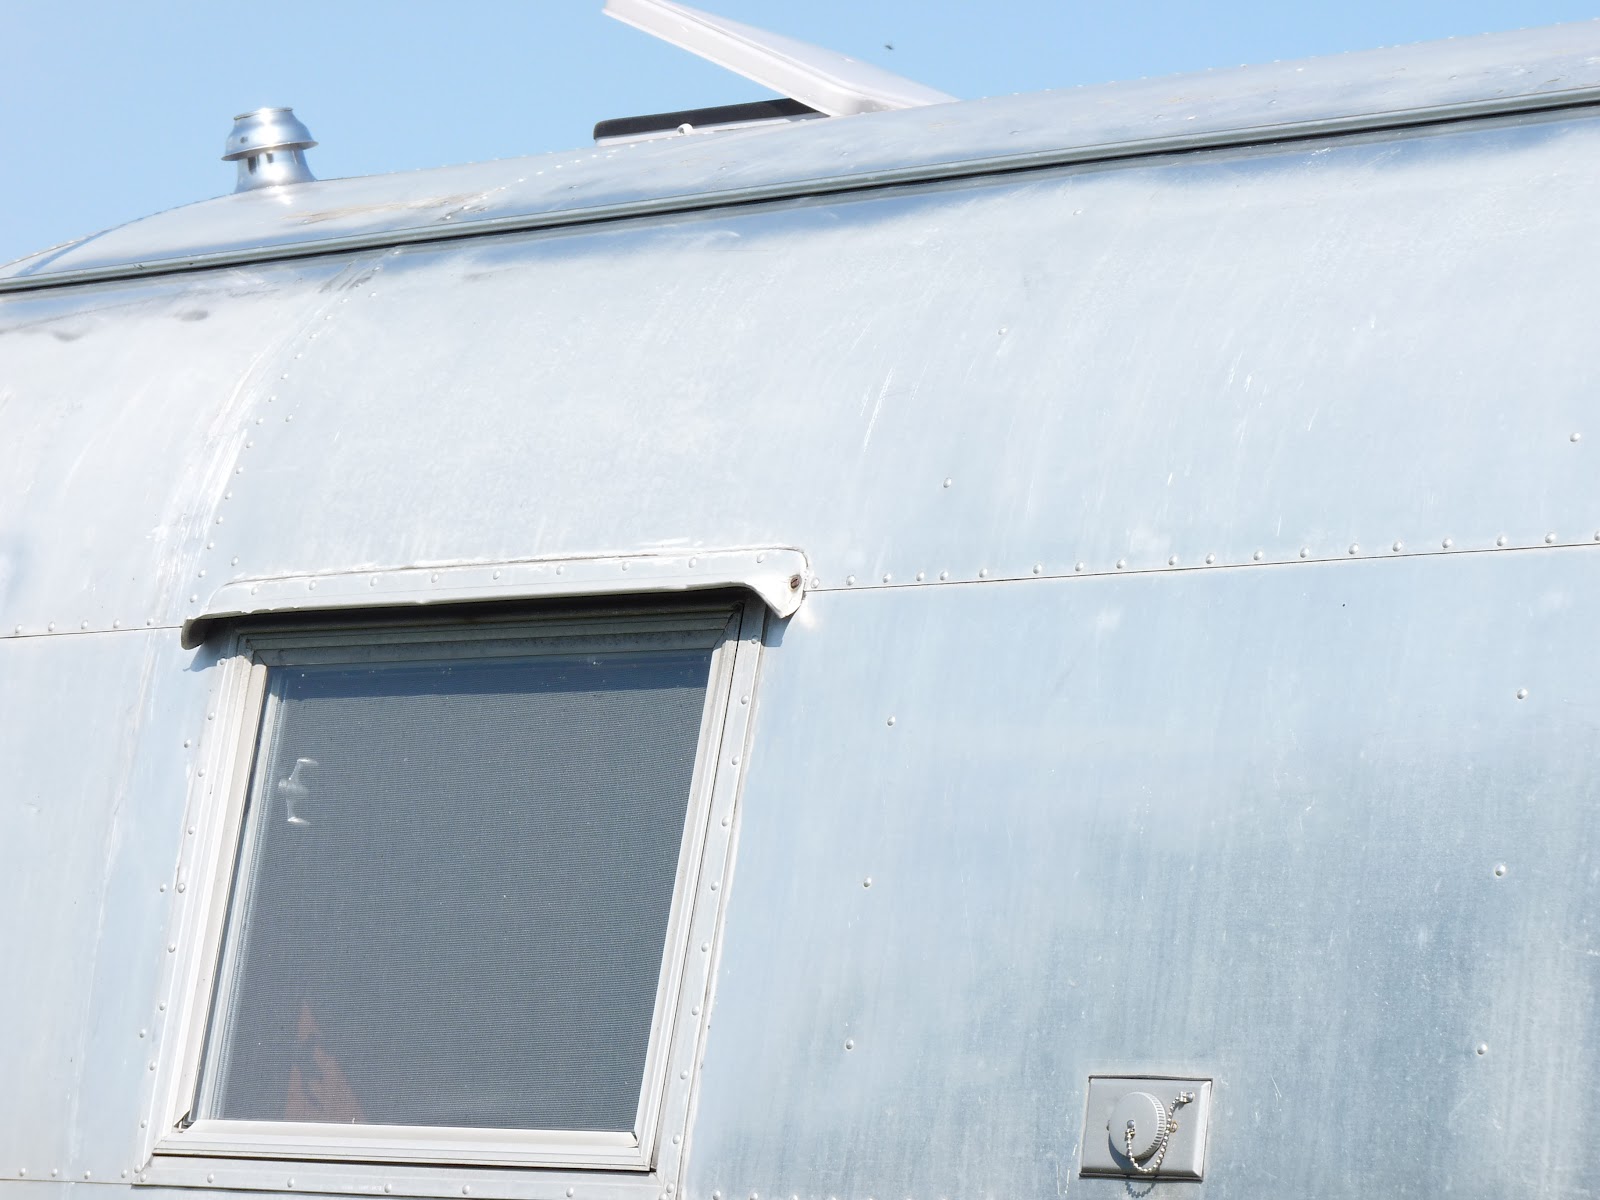
Even the endcap windows have curtains.  We only left the jalousie window bare due to it's awkward size and overall coolness!


Add caption
I collected a whole bunch of souvenir vintage handkerchiefs off of ebay for cheap.  Evidently people collected them on their vacation travels like we would collect bumper stickers.  They have a very fifties vibe to them and although my trailer is a 1960, I think it has more of a fifties feel to it with it's pink bathroom sink(and toilet which unfortunately I had to toss).   The problem was how to use them in the trailer.  My sister Shelly and I brainstormed and came up with a perfect solution....curtains!!   I needed them anyway and I wanted something light and bright to give us privacy but not gloominess to the trailer.   Shelly, being a jack of all trades and master to most,  whipped them up in no time.  If I need more darkness, I do have leftover reflectix cut to fit the window openings.


We even covered the front new LED lights with a handkerchief....looks great with the light on and gets rid of that NEW light feel.....  I have to say it is finally fun to do something completely frivolous in the trailer.


We had a problem with the curtains falling away from the trailer as they reached the bottom of the window.  We glued small rare earth magnets on the screens and made our on magnets using old game pieces.  We placed three magnets on each small window and four on the large windows fore and aft.  This way we could use the magnets when the curtains were in the open and closed position.  Worked well and it was a fun easy project!   Loved the superglue by 3M!


Friday, August 24, 2012

More bathroom photos


Bathroom vanity was finally fixed into place with the plumbing installed


Replaced the faucet since the other one had so much corrosion it was not salvageable.


Notice the Hepvo drain/trap to save space 

Placed the upper bathroom cabinet in...still have not decided on light fixtures.

Finalizing the finish on the resurfaced vanity


Camping at Lake Carmi


Yes the inner door is polished.  We love our jalousie windows


Kids in the group had an enormous raft to frolick on!

In the heat of the"Set Back" tournament.  Our daughter Hannah ended up taking the trophy home!!
Every year we camp for 4 days at Lake Carmi with a wonderful group of people!  We swim, canoe, have a card tournament with a game called "Set Back" which is frighteningly competitve, and drink way too much beer.  This year was memorable since for it was our MAIDEN outing with our trailer.  Yes, we still have no refrigerator or stove, and there was only running water to our bathroom sink which was not heated, and our propane lines are not in, but it was FABULOUS.   No more tenting for us. Period. THE END.    We took too few photos primarily because we were having too much fun!!

Friday, August 3, 2012

Plumb tired

So we tackled the PEX plumbing and it wasn't as bad as we thought.  Fortunately my office manager's husband is a plumber and with a quick lesson and a gracious borrowing of his tools I was able to plumb our trailer.  Yes I made lots of mistakes but PEX is very forgiving.  Except for wasting a few extra clamps and the fact I had a 100 feet of both red and blue line which gave me plenty of wiggle room we were good to go!  No leaks the first time we tested.  That was pretty awesome!


Pierre our plumber did help us with the copper to pex connections at the tub and the water heater


Connections were tricky around the tub in the rear of the trailer

Fresh water tank is from vintage trailer supply