Spent a lovely night in Lake Elmore, Vermont at the state campground there. It was a last minute trip...the weather seemed perfect. Peter had a light day at work, so we threw the dogs in the truck, convinced our college age daughter to come with us, and off we went. The campground was quiet and lovely. Except for the fact that there is ZERO cell phone coverage there, and our other daughter had no way to contact us in an emergency, it was a perfect trip. Hiking up to the fire tower was amazing. We will absolutely be back here next year!
 |
| We love fall camping-NO BUGS |
 |
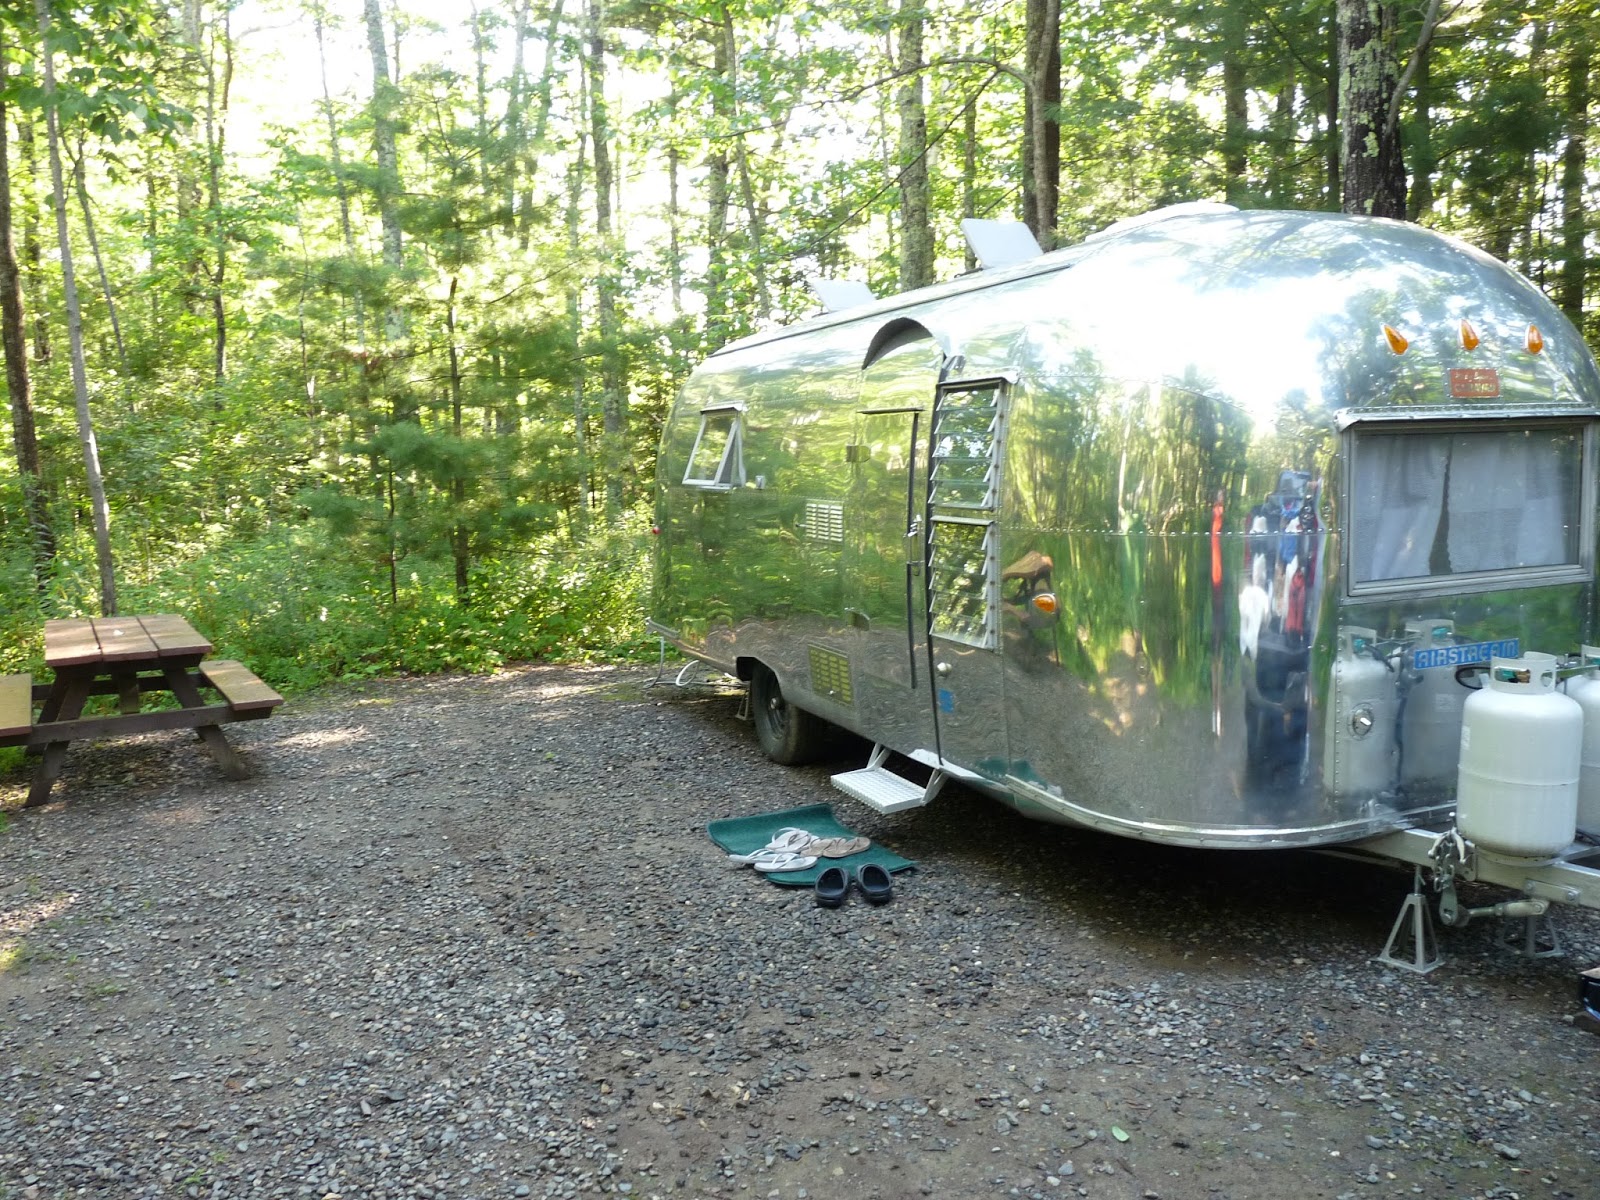
| Site 37 was so level we did not even have to unhook! |